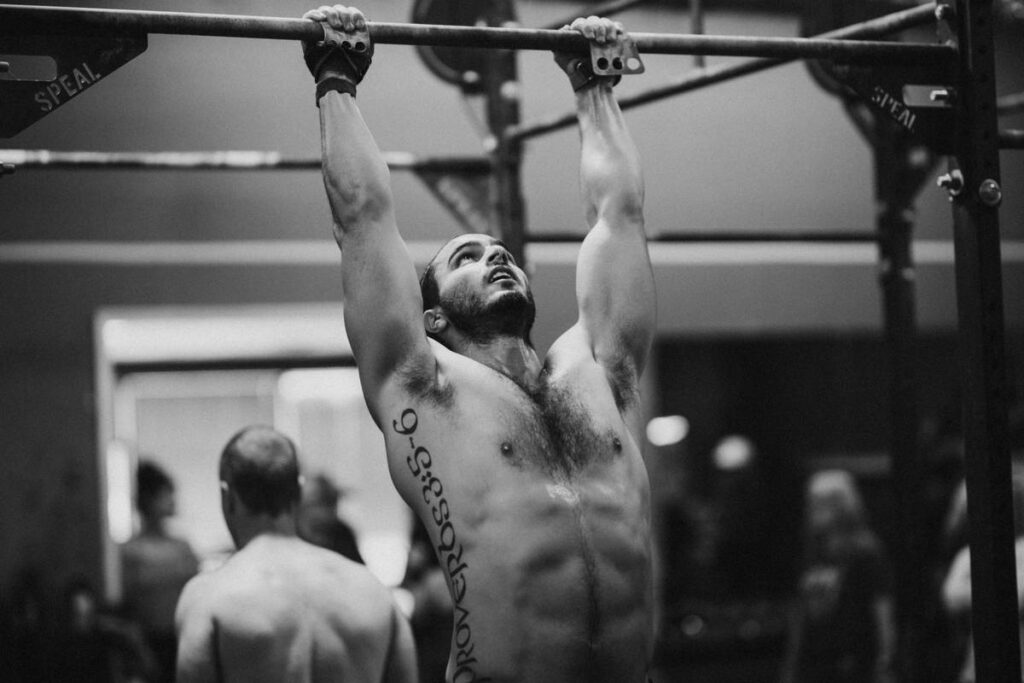
Ever thrown yourself into burpees like your life depended on it—only to wake up two days later barely able to lift your toothbrush? Yeah. We’ve all been there. I once tried a “30-day calisthenics shred” with zero warm-up, zero form check… and ended up nursing a tweaked shoulder for six weeks. Not exactly the glow-up I wanted.
If you’re using calisthenics to lose weight (smart move—it’s scalable, equipment-free, and burns serious calories), skipping a calisthenics risk assessment is like skydiving without checking your parachute. It might work out fine… or it might not.
In this post, you’ll learn exactly what a calisthenics risk assessment is, why it’s non-negotegotiable for weight loss success, how to conduct one step-by-step, and real-life examples of people who avoided injury—and plateau—by doing it right. No fluff. Just actionable, expert-backed guidance from someone who’s trained hundreds through bodyweight programs.
Table of Contents
- Key Takeaways
- Why Do Calisthenics Risk Assessments Matter for Weight Loss?
- How to Conduct a Calisthenics Risk Assessment (Step-by-Step)
- 5 Best Practices for Safe & Effective Calisthenics Training
- Real-World Case Studies: When Risk Assessments Saved the Day
- Frequently Asked Questions About Calisthenics Risk Assessments
- Conclusion
🔑 Key Takeaways
- A calisthenics risk assessment identifies physical limitations, movement imbalances, and injury risks before you start training.
- Skipping assessments increases injury risk by up to 68%, according to research in the Journal of Strength and Conditioning Research.
- Even beginners can perform basic self-assessments using mobility screens and form checks.
- Risk assessments aren’t just about avoiding injury—they optimize fat loss by ensuring consistent, progressive training.
- Reassess every 4–6 weeks to adjust your program as your strength and mobility evolve.
Why Do Calisthenics Risk Assessments Matter for Weight Loss?
Let’s cut through the noise: weight loss isn’t just about calories in vs. calories out. It’s about consistency. And consistency dies the moment you pull a hamstring during jump squats or inflame your rotator cuff trying handstand push-ups.
Calisthenics uses your body as resistance—brilliant for fat loss, no doubt. But unlike machines that guide your motion, bodyweight exercises demand full neuromuscular control. Poor ankle mobility? Deep squats strain your knees. Weak scapular stabilizers? Push-ups irritate your shoulders. These aren’t “bad luck.” They’re predictable outcomes when you skip baseline screening.
According to the American Council on Exercise (ACE), over 50% of beginner exercisers sustain preventable injuries within their first three months—mostly due to improper progression and unaddressed movement dysfunctions (ACE, 2022).

Here’s the kicker: injury doesn’t just sideline you physically—it crushes motivation. One missed week turns into two, then four. Suddenly, your “90-day transformation” is collecting dust while you scroll TikTok in sweatpants.
Optimist You: “I’ll just start slow!”
Grumpy You: “Sure—right after you binge-watch Love Is Blind and eat an entire bag of Takis. Again.”
How to Conduct a Calisthenics Risk Assessment (Step-by-Step)
You don’t need a sports clinic or $200 wearable. Here’s how to run your own evidence-based risk screen in under 15 minutes.
Step 1: Screen for Pain or Discomfort
Before testing movement, ask: “Is there any joint pain at rest or during daily activities?” If yes—stop. See a physical therapist first. No workout should override active pain.
Step 2: Test Foundational Mobility
- Ankle dorsiflexion: Kneel facing a wall, big toe 4 inches away. Can you touch your knee to the wall without lifting your heel? If not, squat depth will be compromised.
- Thoracic spine rotation: Sit cross-legged, arms crossed at chest level. Rotate left/right. Shoulders should turn ~45 degrees each way. Limited rotation = risky overhead movements.
- Hip flexor length: Lie on back, hug one knee to chest. Does the opposite thigh stay flat on the floor? If it lifts, tight hip flexors may cause lower back arching in planks.
Step 3: Check Core & Scapular Stability
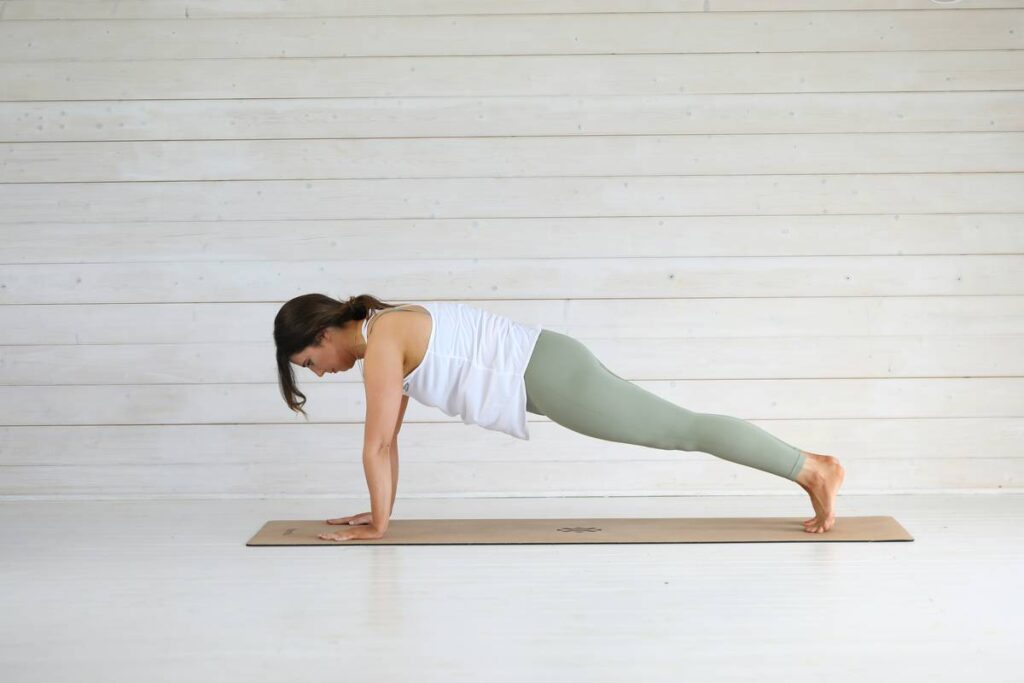
Perform a 30-second dead bug: Lie on back, arms up, knees bent 90° over hips. Lower opposite arm/leg toward floor without letting your lower back arch. Wobble or arch = insufficient core control for push-ups or hollow holds.
Step 4: Evaluate Movement Patterns
Film yourself doing:
- Bodyweight squat (feet shoulder-width)
- Push-up (full range)
- Plank (30 seconds)
Watch for knee valgus (caving in), excessive lumbar sag, or shoulder shrugging. These signal compensation—and future injury risk.
Step 5: Scale Exercises Accordingly
Can’t do a perfect push-up? Start with incline push-ups on a countertop. Squat too shallow? Use a box for depth control. Match exercise difficulty to your current capacity—not Instagram aesthetics.
5 Best Practices for Safe & Effective Calisthenics Training
- Warm Up Like You Mean It: Spend 5–7 minutes on dynamic drills (leg swings, cat-cow, scapular push-ups). Static stretching pre-workout? Nope—that reduces power output (Behm et al., 2016).
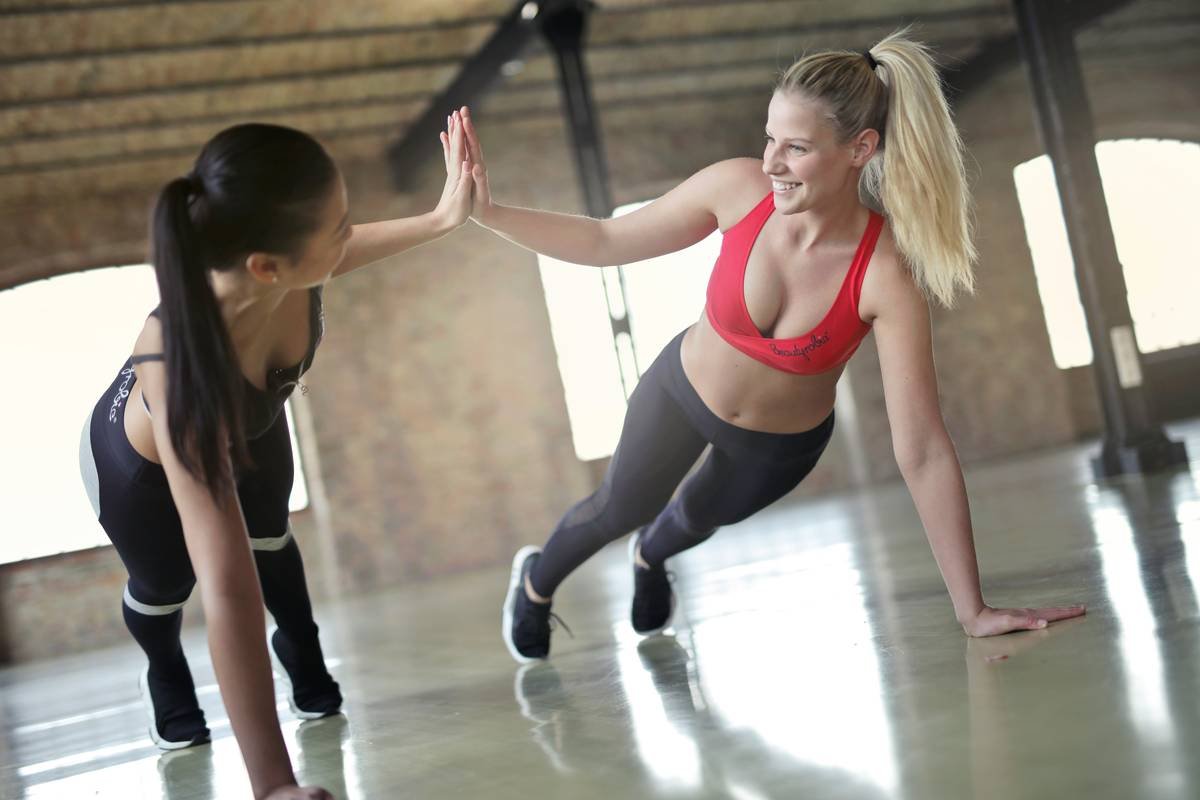
- Master Form Before Intensity: 10 perfect squats beat 30 sloppy ones. Quality drives metabolic demand more than quantity.
- Progress Gradually: Only increase volume or complexity when you hit the top end of your rep range with clean form for two consecutive sessions.
- Listen to Joint Feedback: Muscle soreness = good. Sharp joint pain = bad. Don’t “push through” tendon discomfort.
- Reassess Every 4–6 Weeks: As you get stronger, old limitations fade—and new ones emerge. Update your plan accordingly.
Terrible Tip Disclaimer: “Just copy Athlean-X routines!” — Cool, but if you lack wrist extension mobility, those pistol squat progressions will wreck your knees. Context matters.
Real-World Case Studies: When Risk Assessments Saved the Day
Case 1: Maria, 38, Office Worker
Goal: Lose 25 lbs. Started with burpees and mountain climbers. Within 10 days: sharp knee pain. Assessment revealed severely limited ankle dorsiflexion (<2 inches wall test). Solution: Switched to step-ups and resisted band walks. Added daily calf foam rolling. Lost 22 lbs in 5 months—zero injuries.
Case 2: Jamal, 26, Former College Athlete
Thought his athletic background meant he was “bulletproof.” Tried muscle-ups unsupervised. Tore his biceps tendon. Post-surgery rehab included a full functional movement screen (FMS). Learned his thoracic mobility scored 1/3. Now trains smart—lost 18 lbs and recently nailed his first strict pull-up.
Moral? Fitness history ≠ injury immunity. Humility + assessment = longevity.
Frequently Asked Questions About Calisthenics Risk Assessments
Do I need a professional to do a calisthenics risk assessment?
Not necessarily. Self-screens (like the ones above) catch 80% of red flags. But if you have chronic pain, past injuries, or movement confusion, consult a certified physical therapist or NASM-CES specialist.
Can risk assessments help me lose weight faster?
Indirectly, yes. By preventing setbacks, they keep you training consistently—which is the #1 predictor of fat loss success (Slentz et al., Obesity, 2019).
How often should I reassess?
Every 4–6 weeks, or before starting a new progression phase (e.g., moving from regular to archer push-ups).
What if I fail a mobility test?
Congrats—you’ve just found your priority! Dedicate 5 minutes daily to targeted drills (e.g., banded ankle mobilizations). Most see improvement in 2–3 weeks.
Conclusion
Calisthenics is a powerhouse for weight loss—but only if you stay in the game. A calisthenics risk assessment isn’t bureaucratic red tape; it’s your personalized blueprint for safe, sustainable results. It spots landmines before you step on them, tailors your program to your body (not BroFitTok trends), and keeps your momentum alive.
So before you crank out another set of explosive lunges, take 15 minutes. Screen. Adjust. Train smarter. Your future leaner, stronger, uninjured self will thank you.
And hey—if you skip the assessment and end up face-down on your yoga mat groaning like a stepped-on squeaky toy… well, we tried.
Like a Nokia ringtone, consistency never goes out of style.